
Your First Year on an Allotment
Your First Allotment: What to Do in the First 30 Days
A practical UK first-month plan for assessing your plot, clearing a manageable area, choosing seasonal crops and building a routine you can maintain.
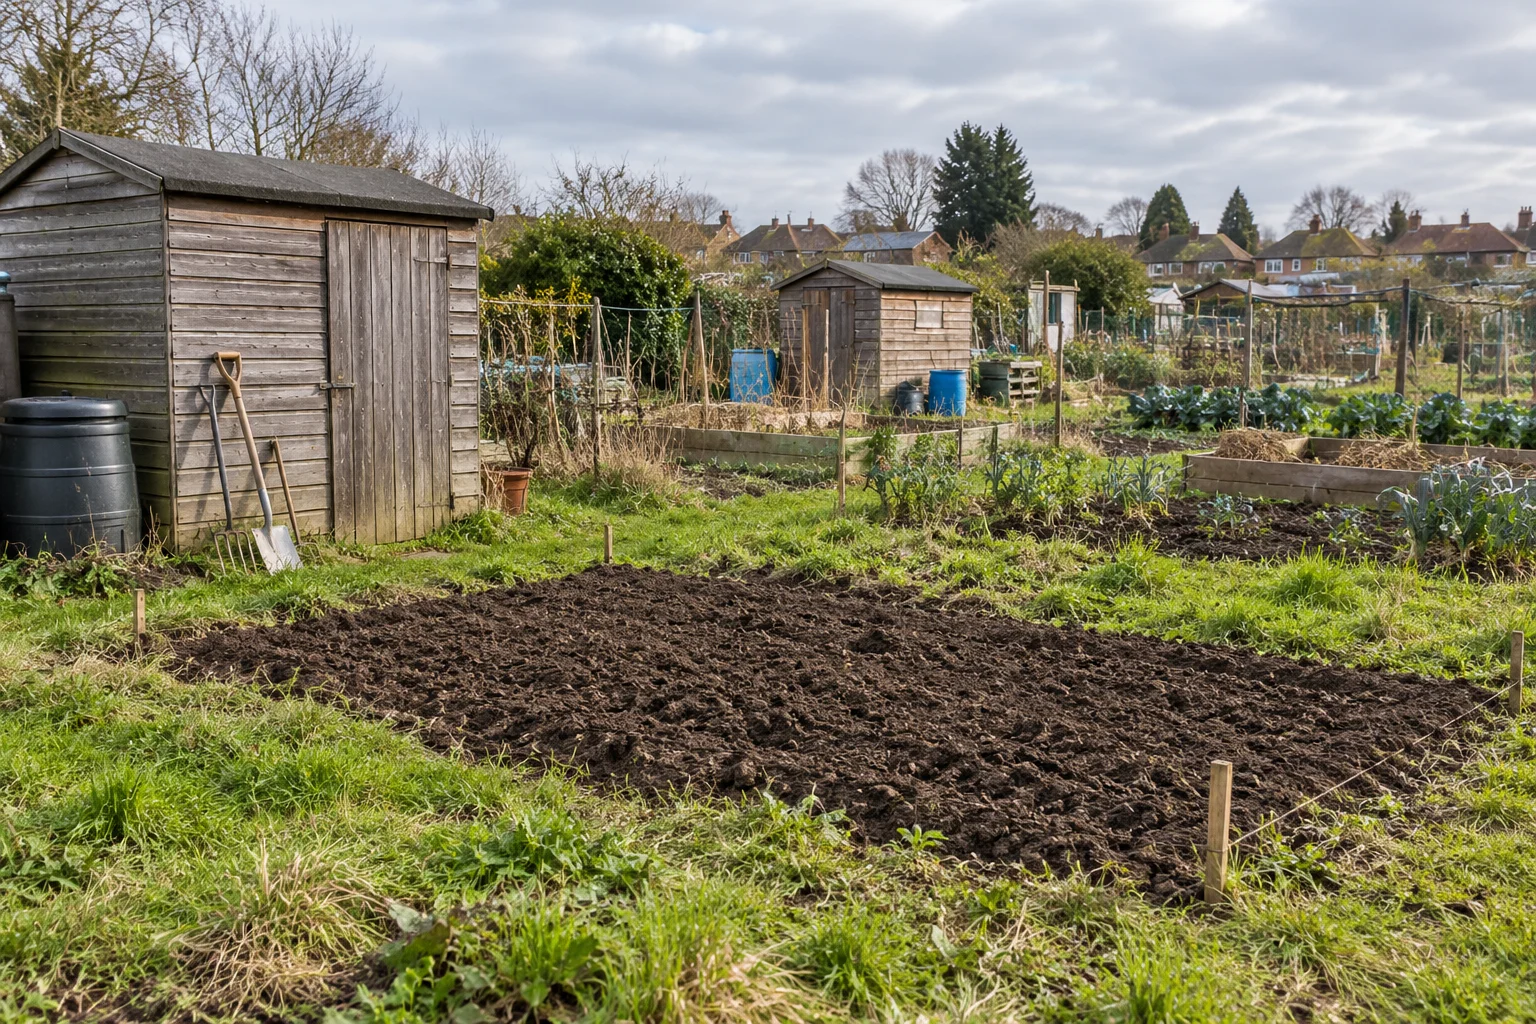
Getting the keys to your first allotment is exciting. Then you open the gate, look at the weeds and wonder where to begin. Should you dig everything, order compost, build raised beds or start sowing immediately?
Your first month needs a simpler goal: understand the plot, make one useful area manageable and establish a routine you can maintain. You do not need a finished vegetable garden in 30 days. A clear plan and a small, well-prepared bed are worthwhile progress.
This practical UK guide works from the day you take over, whatever the month. Treat the days as stages, adjusting outdoor work to the weather and your available time.
Explore Your First Year on an Allotment, our month-by-month guide and planner bundle, or buy the complete allotment bundle on Payhip.
Your first 30 days at a glance
| When | Main job | Useful result |
|---|---|---|
| Days 1–3 | Inspect and ask questions | Notes on access, rules, water and existing plants |
| Days 4–7 | Choose your starting area | A simple sketch and realistic task list |
| Days 8–14 | Clear and prepare one bed | A manageable growing space or protected soil |
| Days 15–21 | Choose seasonal crops | A short planting list and care plan |
| Days 22–30 | Establish a repeatable routine | Records, regular checks and next month's priorities |
Days 1–3: look before you change anything
Take photographs from each corner before clearing. They record what you inherited and make later progress easier to see. Walk the boundaries, find the water source and note where you can safely bring in tools or materials.
Ask the site representative about permitted structures, water arrangements, compost deliveries and any cultivation requirements. If the plot is badly overgrown, agree a staged clearance plan rather than assuming you can leave most of it covered indefinitely. The RHS getting-started guide also highlights checking facilities and restrictions before investing in a plot.
Find out what grew there previously and whether there were persistent disease problems. Mark established fruit bushes, rhubarb and plants you cannot identify. Ask before removing them; an untidy corner may contain something worth keeping.
Watch where sunlight falls and where puddles remain after rain. These observations will help you choose your first growing area. Introduce yourself to a neighbour and ask one specific question, such as which parts of the site stay wet longest.
Days 4–7: make the job smaller
Draw a rough plan showing boundaries, access, water, existing features and your proposed first bed. A notebook sketch is enough. Choose an area you can reach easily and inspect without walking across the growing soil.
For example, you might begin with a bed about one metre wide and three metres long, provided that fits your reach and access needs. Those dimensions are a starting suggestion, not a rule. Wider paths or a different bed shape may suit you better.
Divide your list into three headings: do now, do next and leave for later. Clear access belongs in the first column. A decorative arch or elaborate shed shelving can wait. Limit each visit to one main task so you leave knowing what you accomplished.
Start your shopping list with the work in front of you. Gloves, suitable footwear, a digging fork or spade, a trowel and a watering can may cover your immediate needs. Borrow where practical and inspect second-hand tools before buying.
For a fuller spending checklist, read How Much Does a New Allotment Really Cost in the First Year? Use your own site charges and supplier quotes when setting a budget.
Days 8–14: clear carefully and prepare one bed
Remove ordinary litter and abandoned materials before tackling vegetation. If you uncover suspicious roofing sheets, chemical containers or other potentially hazardous waste, leave it undisturbed and ask the site manager how it should be handled.
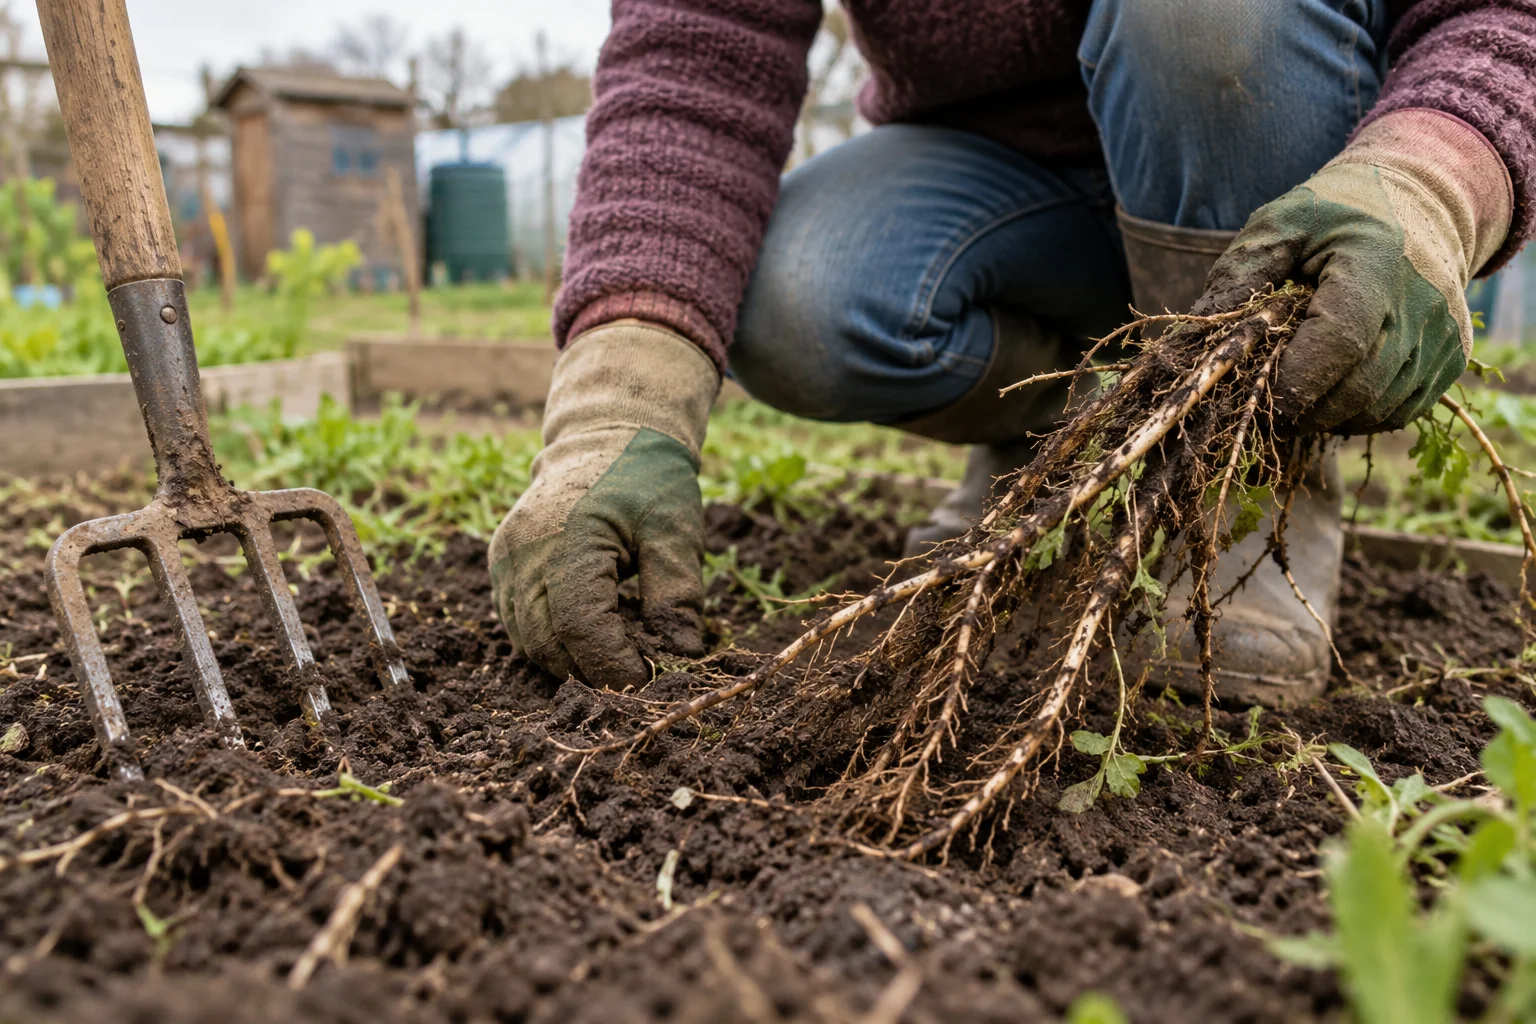
Identify the dominant weeds before choosing a clearance method. Bindweed and couch grass need more persistence than young annual weeds. Avoid rushing in with a rotavator: chopping spreading roots into smaller pieces can make your next round of weeding harder.
Lift roots carefully from the first bed and keep persistent weed material separate from your ordinary compost ingredients. The RHS explains identification and removal methods in its guide to weeding a bed. Expect follow-up work rather than a one-visit cure.
Choose digging or no-dig to suit the starting conditions
You do not need to adopt one method for every corner immediately. A cleared bed can be prepared with limited cultivation, while a no-dig approach uses organic matter on the surface. Both need ongoing weed management.
If using cardboard and compost to establish a no-dig bed, remove tape and plastic and deal with substantial perennial weeds first. Cardboard is not an instant cure for every root underneath. Follow a complete method, such as the RHS introduction to no-dig gardening, and price the required compost before choosing your bed size.
Do not force progress on saturated ground. Working or walking on wet clay can damage its structure; the RHS clay-soil guidance explains why. Use a wet visit to measure, organise labels or revise your plan instead.
Cover areas awaiting clearance with suitable, securely anchored light-excluding material where the site permits it. Check underneath and around the edges regularly. Strong perennial weeds can take a growing season or longer to suppress.
Days 15–21: choose crops for the season you actually have
Choose three to five crops your household eats, then check their sowing windows, spacing and care requirements. A small selection makes it easier to learn what each plant needs and record what happens.
Read the seed packet for the particular variety. Compare its instructions with local conditions rather than treating a national calendar as a guarantee. The RHS vegetable seed-sowing guide is a useful reference when deciding between direct sowing and starting plants in modules.
- Starting in spring: select crops suited to the current soil and temperature; delay tender plants until conditions are appropriate.
- Starting in summer: check which varieties still have time to mature, and whether you can provide reliable watering.
- Starting in autumn: investigate suitable autumn-planted garlic or overwintering crops, but prioritise preparation where soil is wet or clearance is unfinished.
- Starting in winter: plan, order selectively and prepare when conditions allow. An empty protected bed can be the right result.
Buying a few healthy young plants can reduce propagation work, but it does not remove the need for suitable weather, planting space and care. Avoid filling a trolley before you know where everything will go.
Mark each sowing with the crop, variety and date. Draw its position on your plan, including empty areas reserved for later crops. This creates a useful record for future crop rotation.
If you would like dedicated pages for these notes, the allotment guide and planner bundle on Payhip brings monthly actions, plot planning and crop records together.
Days 22–30: build the routine that keeps things growing
Before expanding, practise looking after the area you have started. On each visit, check soil moisture, new weed growth, seedling damage and the security of any covers. Finish by writing the next priority in your notebook.
Water according to the crop, its stage of growth, soil and weather. Newly sown seeds and young plants need particular attention. Check below the surface instead of assuming every bed needs the same amount; the RHS watering guide explains how needs change between crops and growth stages.
As an illustrative routine, reserve a longer weekend session for one planned job and shorter visits for checks. Adjust the frequency when conditions change. If summer watering cannot fit your schedule, reduce the planted area or arrange dependable help before adding more plants.
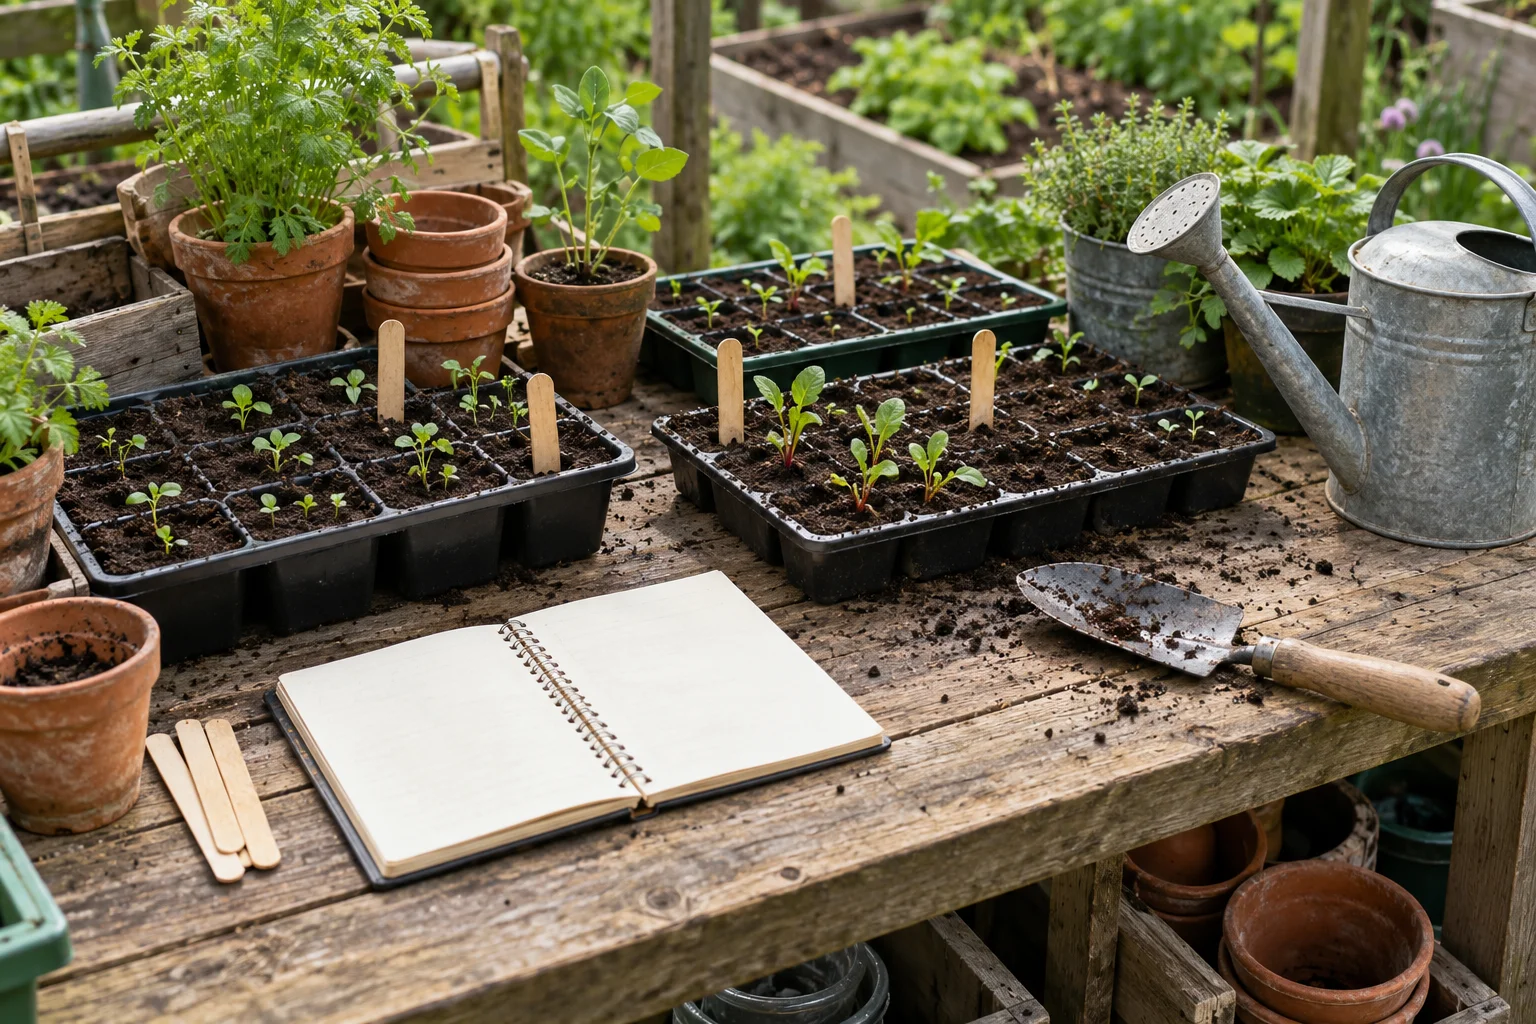
Set aside a permitted space for composting. Mix suitable soft green material with drier, woody or papery material rather than filling the bin with one ingredient. Keep unknown waste out while you learn the basics; use the RHS composting guide to check materials.
Keep one current record, whether that is paper or digital. Our article on making your PDF planner work for you explains how to use selected pages without creating unnecessary paperwork.
At day 30, measure progress fairly
Compare your original photographs with the plot today. Have you improved access, identified what is growing, prepared a bed and worked out when you can visit? Those are useful achievements, even if there is nothing to harvest yet.
Write down three priorities for month two and one purchase you can postpone. Expand only when the existing area feels manageable. Your first allotment becomes easier when each visit has a clear purpose and the next step is small enough to take.
Guidance checked October 2026. Follow your site's arrangements and adapt timings to local weather, soil and crop varieties.
Frequently asked questions
Do I need to clear the entire plot in the first month?
No. Agree a realistic timetable with the site manager, especially where cultivation requirements apply. Starting with a manageable bed can be sensible, but the remaining area still needs a plan.
Can I start an allotment in autumn or winter?
Yes. Your early progress may consist of assessment, clearance and preparation rather than planting. Work around wet or frozen ground and choose crops only when the season and conditions suit them.
Do I need raised beds or a greenhouse?
Neither is automatically necessary. Decide whether either solves a specific problem on your plot, check permissions and consider the cost. Learning how the site behaves first can prevent an expensive mistake.
What should I grow first?
Start with a few vegetables you enjoy eating that suit your season, space and available care. There is no single beginner list that works equally well for every plot or starting month.
What is included in the allotment bundle?
It includes the 83-page guide, a 42-page action planner and a seven-page quick-start printable pack. The companion packs also include editable Word copies. See the full product page for details.
Plan your first growing year with confidence
Keep your plot plan, monthly jobs and crop records together with Your First Year on an Allotment.
Buy the allotment bundle on Payhip (opens in a new tab)Explore the blueprint collection for guides, planners and practical worksheets.