Your First Year on an Allotment
First Allotment Tools: What to Buy Now and What Can Wait
Choose garden spades, forks, watering cans, hoes and trowels with confidence, and build a useful starter kit without buying everything at once.
Your first allotment can make every gardening tool look essential. One neighbour has a wheelbarrow full of equipment; another recommends a different hoe for every job. Meanwhile, you want to get a few vegetables growing without spending your entire budget before planting anything.
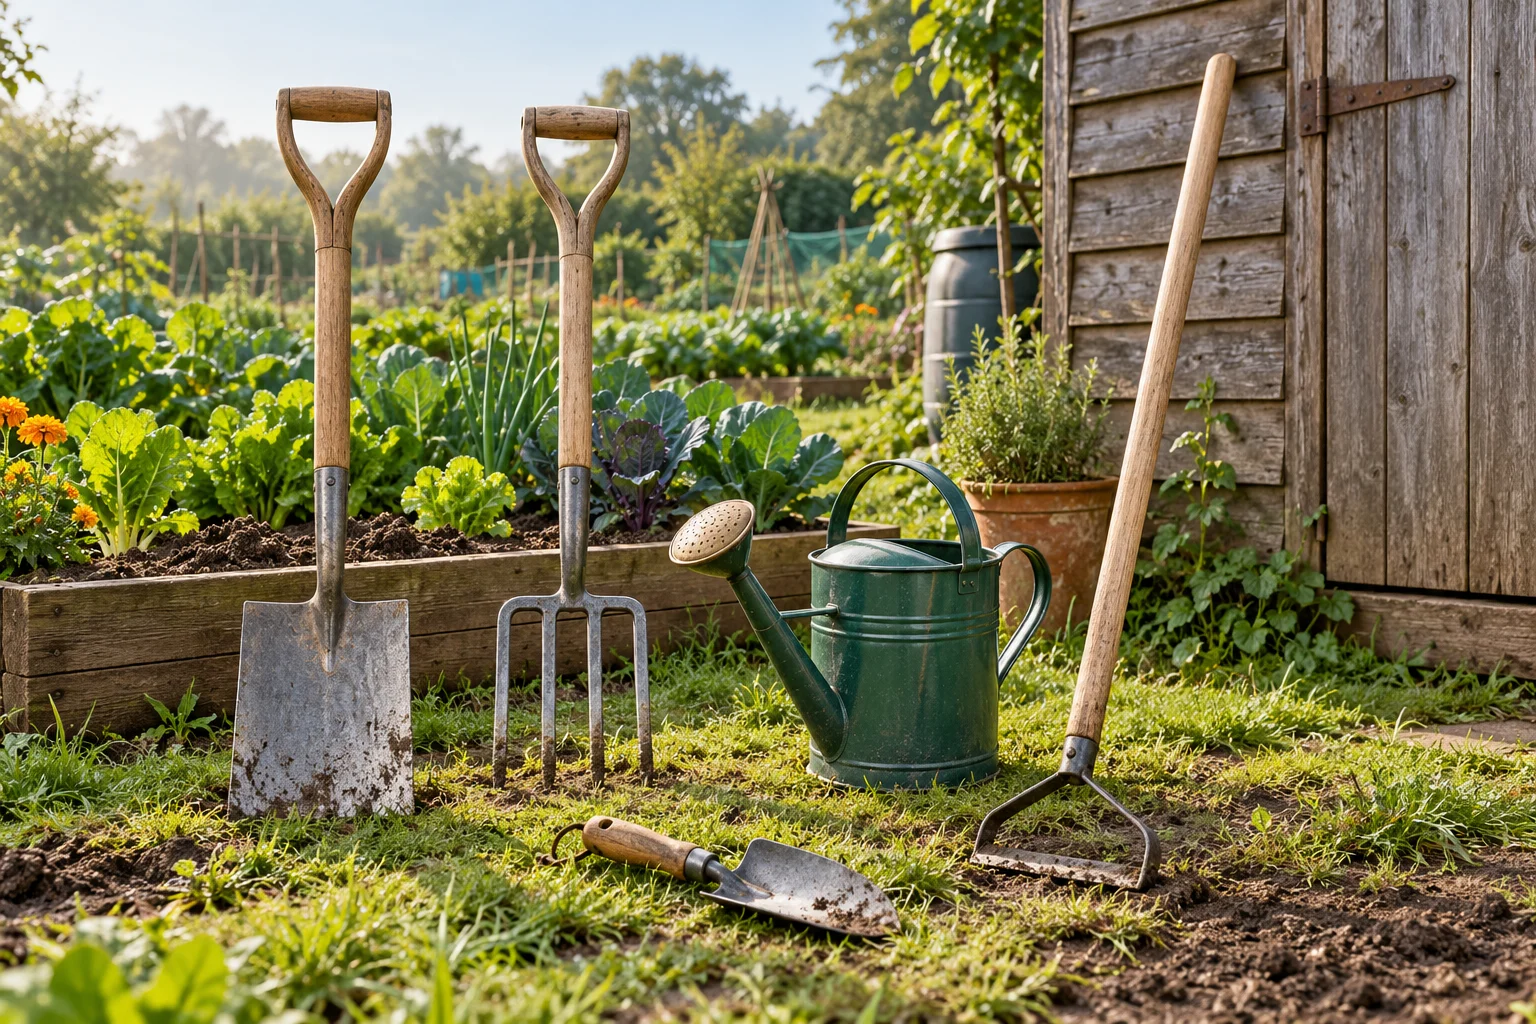
Start with five core tool types: garden spades, garden forks, watering cans, garden hoes and garden trowels. Together, they cover much of the digging, lifting, watering, weeding and planting a beginner is likely to do. The sensible question is which you need to own immediately, which you can borrow, and which size suits you.
This is a practical buying guide, not a hands-on review of particular brands. Choose equipment around your plot, your strength and your growing method. A manageable kit should make work easier, not create more things to carry and store.
Our Your First Year on an Allotment guide and planner bundle helps you organise the months ahead. Buy the allotment PDF bundle on Payhip and turn your equipment list into practical next steps.
Before buying: spend one visit assessing the plot
Find the water point, check your storage options and look at the ground. An established bed needs different work from a patch of grass and perennial weeds. Ask whether the allotment association has shared tools, and check water-use rules before buying a hose or irrigation system.
Decide how much ground you will tackle first. Working on one manageable bed usually gives you a clearer shopping list than planning to transform the whole plot in a weekend. Our first 30 days on a new allotment guide explains how to make that initial assessment.
If you intend to use no-dig beds, you may need a spade or fork for specific clearance jobs without using either for annual cultivation. The RHS no-dig guide describes growing with surface mulches and minimal soil disturbance. Buy for the work you actually plan to do.
The five-tool starter kit at a glance
| Tool | Main purpose | Buying priority |
|---|---|---|
| Garden spade | Cutting turf, edging and digging planting holes | Buy or borrow when the preparation job needs it |
| Garden fork | Lifting roots, loosening soil and harvesting | Useful early on plots needing clearance |
| Watering can | Controlled watering of seeds and young plants | Have one ready before sowing or planting |
| Garden hoe | Removing small weeds between crops | Buy early for ongoing bed maintenance |
| Garden trowel | Planting small plants and working in tight spaces | A useful first purchase for most beginners |
1. Garden spades: choose one you can work with comfortably
A garden spade has a blade suited to cutting into soil, making edges and lifting manageable slices of turf. It is useful when creating a bed or digging a planting hole. It should not be treated as a lever for wrenching out large buried objects.
Try the grip and weight before buying if possible. Can you hold it securely with gloves on? Does the handle let you work without excessive bending? A smaller border spade may feel more manageable than a full-sized digging spade, though it moves less material with each lift.
Look for a secure blade-to-handle connection and a comfortable foot tread. Stainless steel and carbon steel both have their place; construction, fit and maintenance matter more than a finish that looks impressive on a shelf.
Buy now or wait? Buy or borrow one if you have turf to lift or holes to dig. If your beds are already prepared, borrowing for occasional jobs may be enough initially. Avoid purchasing two sizes before you know which you prefer.
2. Garden forks: useful for lifting and careful clearance
A digging fork is helpful for loosening soil and lifting roots while allowing some earth to fall between the tines. It can also help with harvesting potatoes, working carefully away from the crop to reduce damage.
Choose a digging fork rather than assuming a lightweight compost fork will do the same work. Check that the tines are straight and firmly attached, the handle is sound and the tool feels balanced. A border fork offers a smaller working head that some gardeners find easier to control.
Identify persistent weeds before tackling them. Aim to lift spreading roots carefully and expect follow-up weeding. The RHS guide to non-chemical weed control explains why small weed seedlings and established perennial weeds need different approaches.
Buy now or wait? A fork can be an early priority on a plot needing root removal. On established no-dig beds, it may be an occasional tool. Do not force it through hard obstructions or work soil that is waterlogged.
3. Watering cans: think about the full weight
A watering can gives you control around seed drills, newly planted vegetables and containers. Choose one with a removable rose so you can use a gentle shower where needed and direct water around established plants when appropriate.
Capacity is not the same as convenience. One litre of water weighs approximately one kilogram, so a ten-litre can holds about ten kilograms of water before you add the can itself. A smaller can, or filling a larger one only partway, may suit you better.
Check the handle position, filling opening and balance when pouring. Think about the distance from the tap to your beds. A can that feels fine empty can become awkward on a long walk over uneven paths.
Buy now or wait? Arrange a reliable watering method before planting. Start with one comfortable can and learn how quickly your beds dry. For watering technique and timing, see the RHS watering guidance. Check moisture rather than watering automatically because it is your usual visiting day.
4. Garden hoes: make small weeds a regular job
A hoe helps you deal with young weeds before they become a much bigger task. A Dutch hoe is a sensible option to consider for working between rows, while a draw hoe has a different action and can help with tasks such as drawing shallow drills.
You do not need several designs immediately. Try a neighbour's tool, with permission, and notice whether the movement feels natural. The handle should let you work comfortably, and the head should fit the gaps between your crops without catching them.
Use a hoe shallowly around small weeds rather than churning the bed. Dry conditions help severed seedlings wither; deep-rooted perennial weeds usually need a different approach. Keep clear of young crop stems and shallow roots.
Buy now or wait? Buy one suitable hoe early if you have open ground between crops. Short, regular weeding visits are easier to accommodate than allowing weeds to establish and then trying to rescue every bed at once.
5. Garden trowels: small enough to carry, useful enough to keep
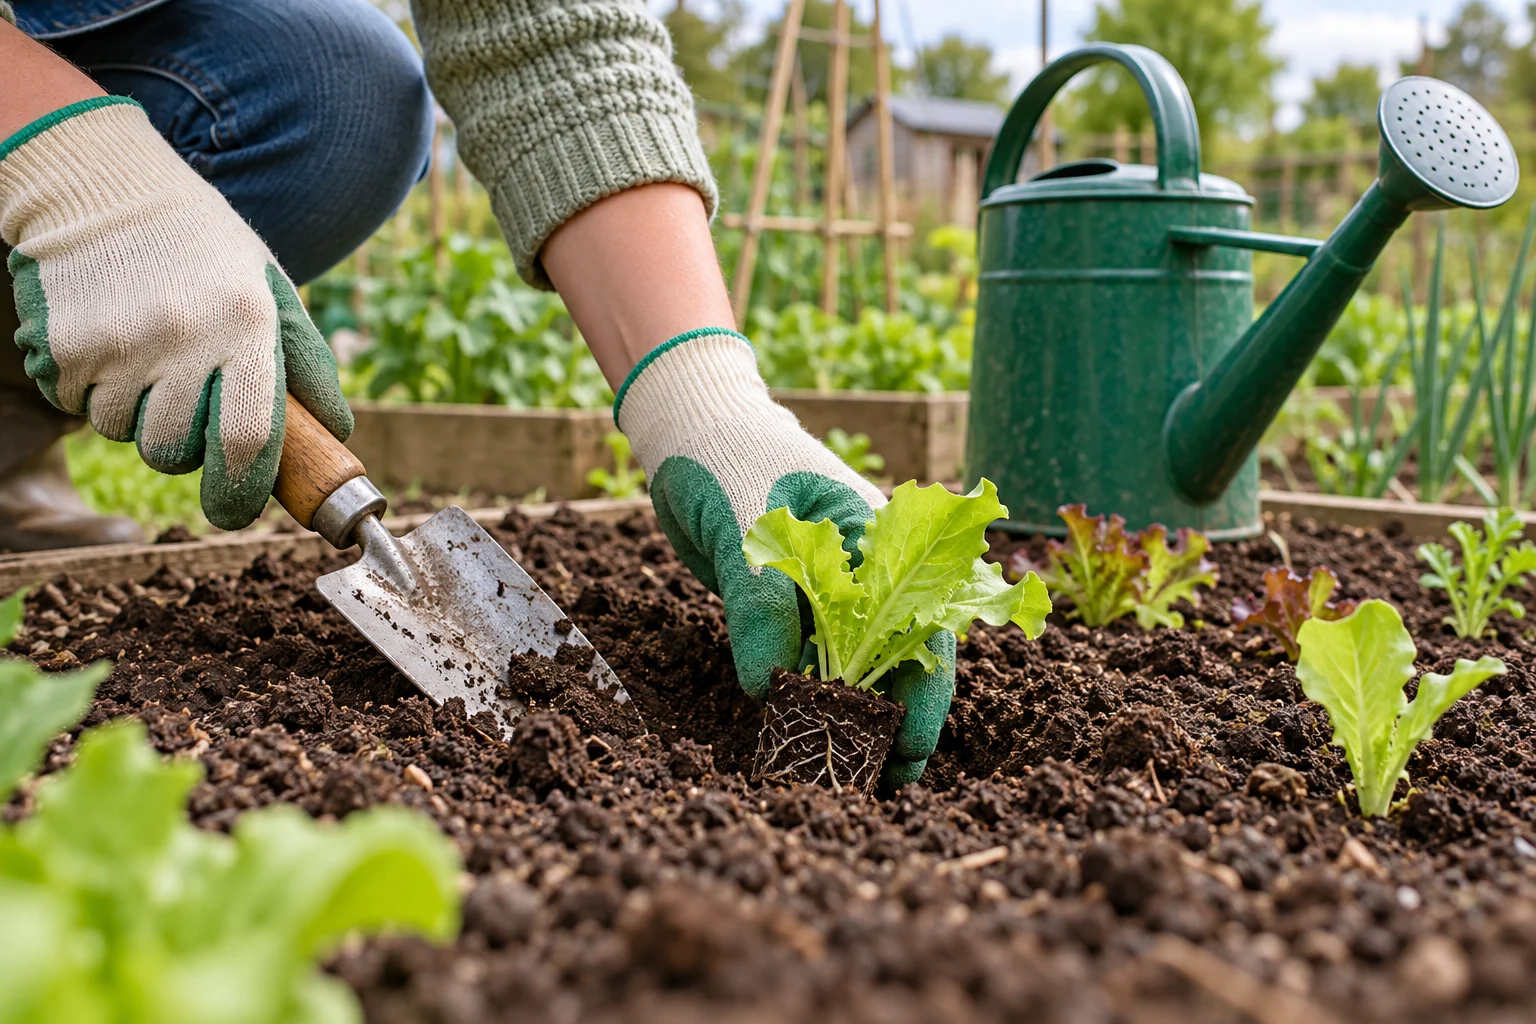
A trowel handles many close-up jobs: making holes for vegetable plugs, planting in containers and working around individual plants. It complements larger tools rather than replacing them.
Look for a solid connection between blade and handle, a grip that does not dig into your palm and a blade shape suitable for your planting spaces. A narrow trowel can be convenient in tight gaps; a broader blade moves more compost. Comfort is a better guide than decorative matching sets.
A brightly coloured handle can make a tool easier to find if you put it down beside a bed. Whatever you choose, develop the habit of putting it back in the same bag or bucket after use.
Buy now or wait? A dependable trowel is a useful first purchase. One is enough to begin. Do not bend it against buried stones or use it for jobs that need a larger tool.
What can wait until you know your routine?
A wheelbarrow may become valuable if you move lots of compost, but check whether you can borrow one first. A rake becomes useful when preparing particular seedbeds; secateurs earn their place when you have suitable pruning work. Your crops and tasks should decide the order.
Powered cultivators, elaborate irrigation, large tool sets and specialist gadgets can usually wait while you learn the plot. A machine is not automatically the right response to weeds, and its storage and maintenance become additional jobs.
Leave room for gloves, sturdy footwear and practical carrying arrangements. Record both equipment and recurring costs before spending. Our first-year allotment costs guide provides a broader checklist; use current local quotes to make your own budget.
Buy fewer tools, then look after them
Second-hand tools can be worth considering when they are sound. Check for loose heads, cracked or splintered handles, bent tines and serious corrosion. Borrowing also lets you discover whether a design suits you before committing.
Remove soil after use, dry tools before storage and follow the manufacturer's care instructions. Keep blades and tines safely positioned, and put tools away rather than leaving them across paths. A small kit is easier to check at the end of each visit.
If gardening later becomes a paid service, your equipment decisions will change with the jobs you accept. Our Gardening Business Start-Up Bundle supports that separate planning stage. For now, focus your allotment spending on growing for yourself.
Turn the shopping list into a first-season plan
Write three columns: own already, borrow and buy next. Put your spade, fork, watering can, hoe and trowel into the appropriate columns, then give each planned purchase a specific job. Anything without a clear purpose can wait.
Use the allotment guide and planner bundle to organise your next steps alongside the seasons. You can get the complete bundle on Payhip. The aim is a workable plot and a routine you enjoy, supported by tools you actually use.
Browse and save your allotment tool ideas
Ready to put together your own starter kit? Explore our Allotment Gardening Essentials for Beginners Pinterest board for gardening ideas and tool inspiration. Save useful pins, then use the checklist above to decide what you need now and what can wait.
Frequently asked questions
Do I need all five tools before starting?
No. These are core tool categories, but owning everything immediately is unnecessary. Have planting and watering covered, then buy or borrow larger tools according to your first jobs.
Should I buy a spade or a fork first?
Choose by task: a spade suits cutting turf and digging holes; a fork helps lift roots and loosen ground. Try borrowing both before choosing your first purchase.
Are expensive garden tools worth it?
Price alone does not tell you whether a tool will suit you. Compare its construction, comfort, repair options and intended use. A well-maintained second-hand tool may meet your needs.
Do no-dig allotments still need tools?
Yes. Planting, watering and weeding still need attention. You may also need a spade or fork for occasional clearance or harvesting, even without routinely digging the beds.
Bring your next steps together with Your First Year on an Allotment — our UK month-by-month guide and planner bundle.
Explore the blueprint collection for guides, planners and practical worksheets.